What is DHCP Superscope?
DHCP superscope is a collection of individual scopes that are grouped together for administrative purposes.
This configuration allows client computers to receive an IP address from multiple logical subnets even when the clients are located on the same physical subnet.
You can create a superscope only if you have created two or more IP scopes already in DHCP.
You can use the New Superscope Wizard to select the scopes that you wish to combine to create a superscope.
DHCP superscope is useful, for example if a scope runs out of addresses, and you cannot add more addresses from the subnet, you can add a new subnet to the DHCP server instead.
This scope will lease IP’s to clients in the same physical network, but the clients will be in a separate network logically.
This is known as multinetting.
Once you add a new subnet, you must configure routers to recognize the new subnet so that you ensure local communications in the physical network.
A superscope is also useful when you need to move clients gradually into a new IP numbering scheme.
When you have both numbering schemes coexist for the original lease’s duration, you can move clients into the new subnet transparently.
When you have renewed all client leases in the new subnet, you can retire the old subnet.
For more info, please log in to Technet : http://technet.microsoft.com/en-us/library/cc958938.aspx
So, in this demo this time, lets go through how you as a infra Administrator canconfigure DHCP Superscope in your Server 2012 R2.
For this demo purposes, i will be using my OSI-ADDS01 domain server for DHCP superscope configuration…
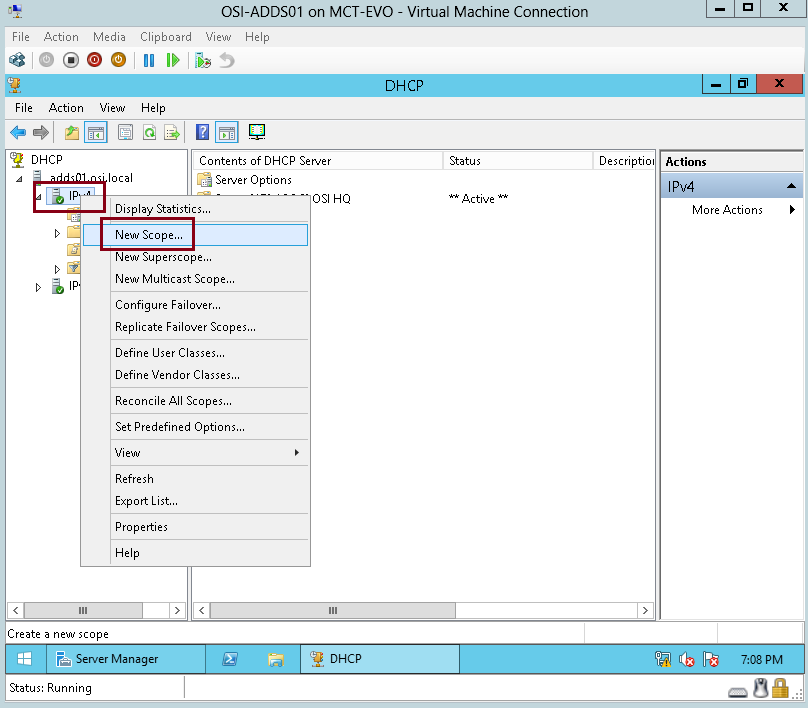
1 – On the OSI-ADDS01 domain server, open Server Manager, click Tools, and then click DHCP…
In the DHCP console, right-click IPv4, and then click New Scope…
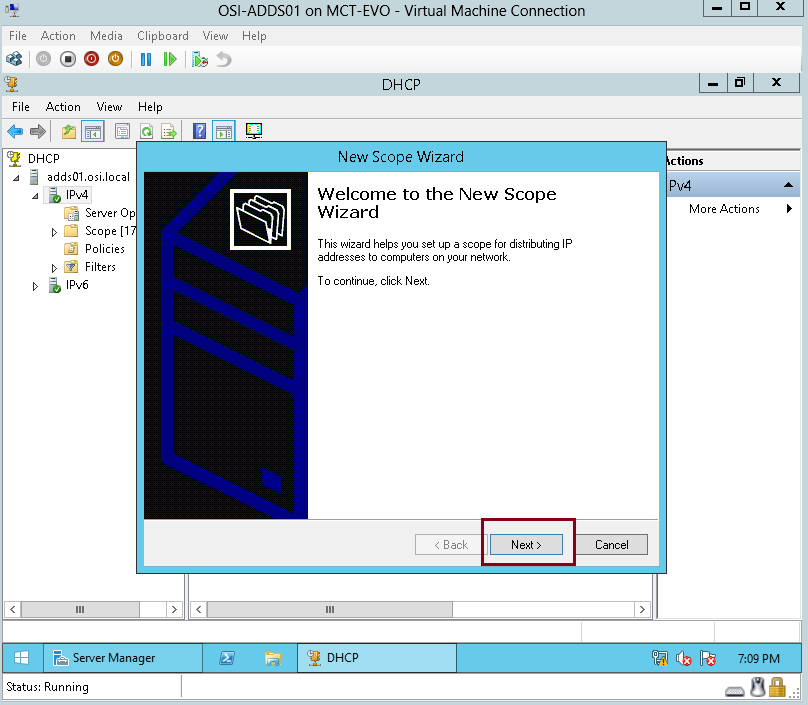
2 – In the New Scope Wizard interface, click Next…
3 – On the Scope Name interface, type SA Site Scope, and then click Next…

4 – On the IP Address Range interface, in the Start IP address box, type192.168.0.50 and then in the End IP address box, type 192.168.0.200, in the Subnet mask box, verify that 255.255.255.0 is entered, and then click Next…

5 – On the Add Exclusions and Delay interface, click Next…

6 – On the Lease Duration interface, click Next…

7 – On the Configure DHCP Options interface, select “Yes, I want to configure these options now“, and then click Next…

8 – On the Router (Default Gateway) interface, in the IP address box, type192.168.0.1, click Add, and then click Next…

9 – On the Domain Name and DNS Servers interface, verify that the parent domain is osi.local, and then click Next…

10 – On the WINS Servers interface, click Next…

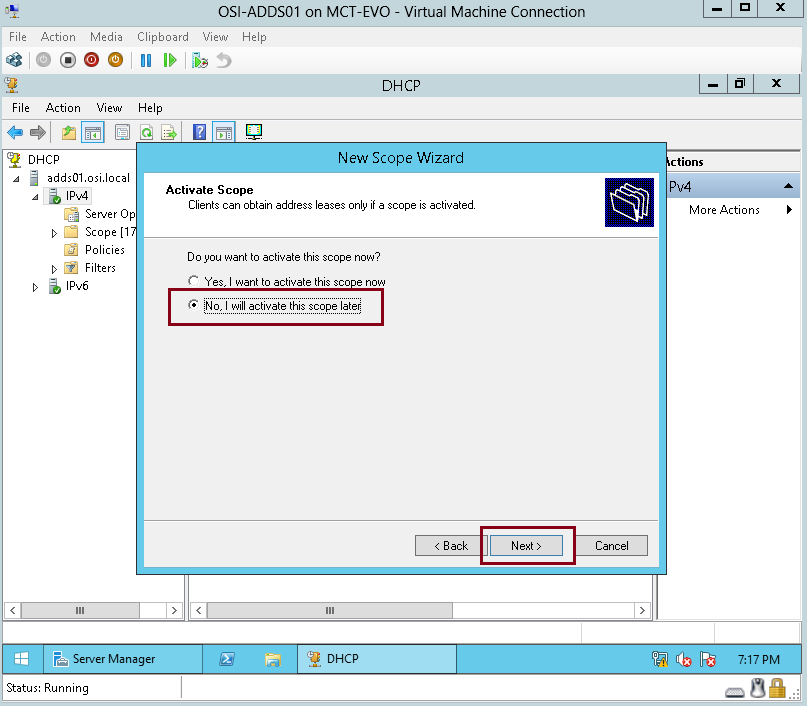
11 – On the Activate Scope interface, click “No, I will activate this scope later“, and then click Next…
12 – On the Completing the New Scope Wizard interface, click Finish…

13 – Next, right click again IPv4, and then click New Scope, click Next and then on the Scope Name interface, in the Name box, type PD Site Scope, and then clickNext…

14 – On the IP Address Range interface, in the Start IP address box, type192.168.1.50, and then in the End IP address box, type 192.168.1.200, verify that255.255.255.0 is entered, and then click Next…

15 – On the Add Exclusions and Delay interface, click Next…

16 – On the Lease Duration interface, click Next…

17 – On the Configure DHCP Options interface, select “Yes, I want to configure these options now“, and then click Next…

18 – On the Router (Default Gateway) interface, type 192.168.1.1, click Add, and then click Next…

19 – On the Domain Name and DNS servers interface, verify the parent domain isosi.local, and then click Next…

20 – On the WINS Servers interface, click Next…

21 – On the Activate Scope page, click “No, I will activate this scope later“, and then click Next…

22 – On the Completing the New Scope Wizard interface, click Finish…

23 – Right-click the IPv4 node, and then click New Superscope…

24 – In the New Superscope Wizard interface, click Next…

25 – On the Superscope Name interface, type OSI-DHCP-SuperScope, and then click Next…

26 – On the Select Scopes interface, select SA Site Scope, hold down the Ctrl key, select PD Site Scope and then click
Next…
Next…

27 – On the Completing the New Superscope Wizard interface, click Finish…

28 – In the DHCP console, select and then right-click OSI-DHCP-SuperScope, and then click Activate…

Thats all for now, you should have your DHCP Superscope running in domain server…
Windows System Administrator : Configuring Dhcp Superscope In Windows Server 2012 R2 >>>>> Download Now
ReplyDelete>>>>> Download Full
Windows System Administrator : Configuring Dhcp Superscope In Windows Server 2012 R2 >>>>> Download LINK
>>>>> Download Now
Windows System Administrator : Configuring Dhcp Superscope In Windows Server 2012 R2 >>>>> Download Full
>>>>> Download LINK