What Is Printer Pooling?
Printer pooling combines multiple physical printers into a single logical unit.
To client computers, the printer pool appears to be a single printer.
When jobs are submitted to the printer pool, any available printer in the printer pool can process them.
Printer pooling increases the scalability and availability of network printing.
If one printer in the pool is unavailable (for example, from a large print job, a paper jam, or being offline), all jobs are distributed to the remaining printers.
If a printer pool does not have sufficient capacity, you can add another printer to the printer pool without performing any client configuration.
You create a printer pool on a server by specifying multiple ports for a printer.
Each port is the location of one physical printer.
In most cases, the ports are an IP address on the network, instead of a local LPT or USB connection.
What Is Branch Office Direct Printing?
Branch Office Direct Printing reduces network costs for organizations that have centralized their Windows Server roles.
When you enable Branch Office Direct Printing, Windows clients obtain printer information from the print server, but send the print jobs directly to the printer.
The print data does not travel to the central server and then back to the branch office printer.
This arrangement reduces traffic between the client computer, the print server, and the branch office printer, and results in increased network efficiency.
Now lets go through how you as a Server Administrator can install & configure printer pool in windows Server 2012 R2 for your infrastructure…
For this demo, i will be using my OSI-SVR01 member server to install & configure Printer…
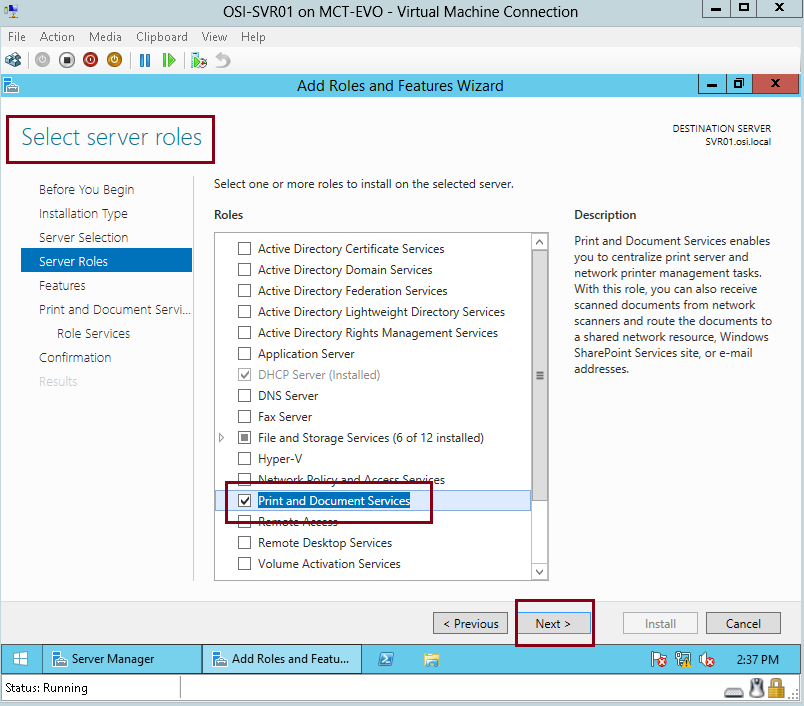
1 – Our 1st step is to install the Print and Document Services server role in OSI-SVR01 server…
In OSI-SVR01 server, in the Server Manager, click Add Roles & Features, then click Next 3 times…
on the Select Server roles interface, click Print and Document Services and then click Next…
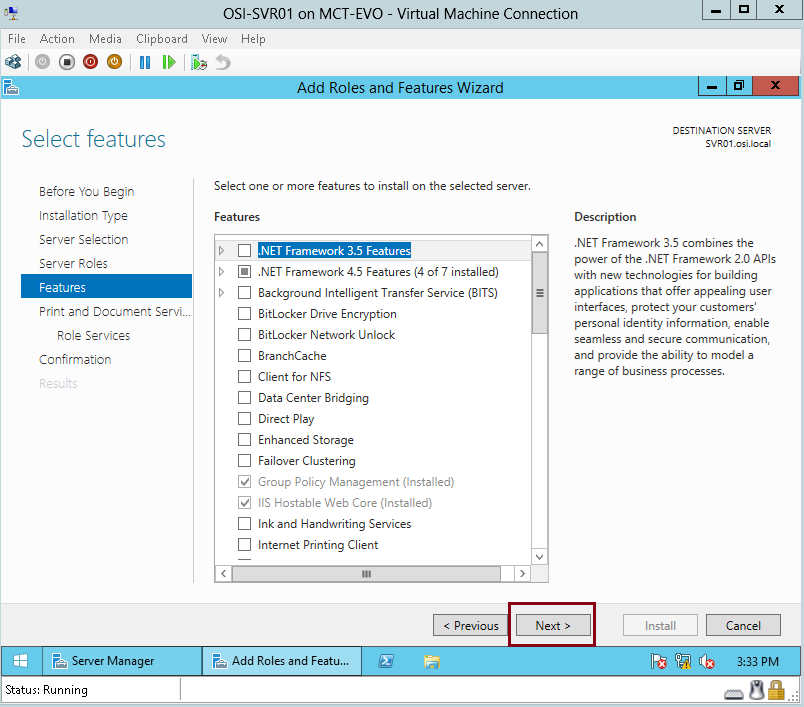
2 – On the Select Features interface, click Next…
3 – On the Print and Document Services interface, click Next…

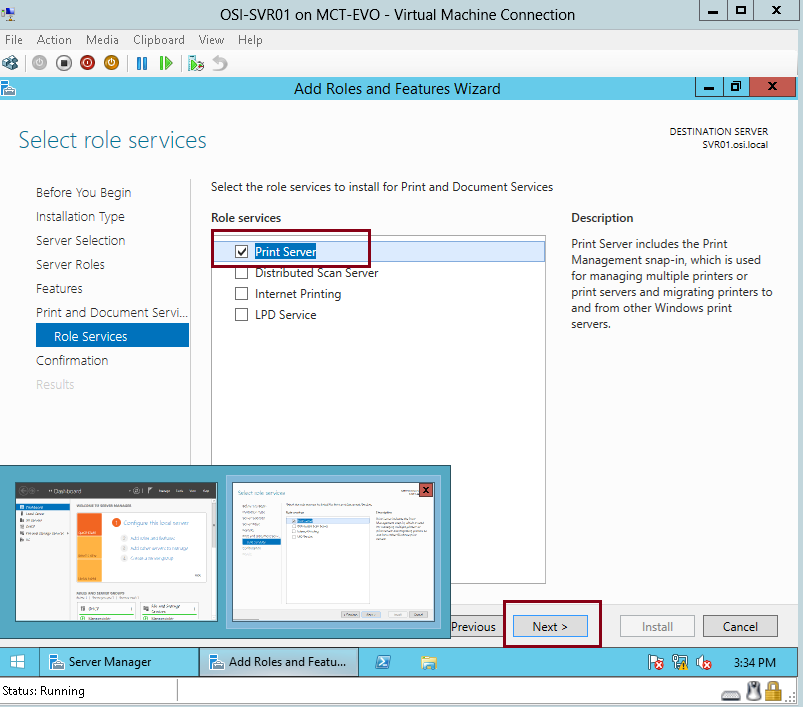
4 – On the Select role services interface, in the Role services verify that Print Servercheck box is selected and then click Next…
5 – in the Confirm Installation Selections interface, click Install…

6 – On the Installation progress interface, click close…

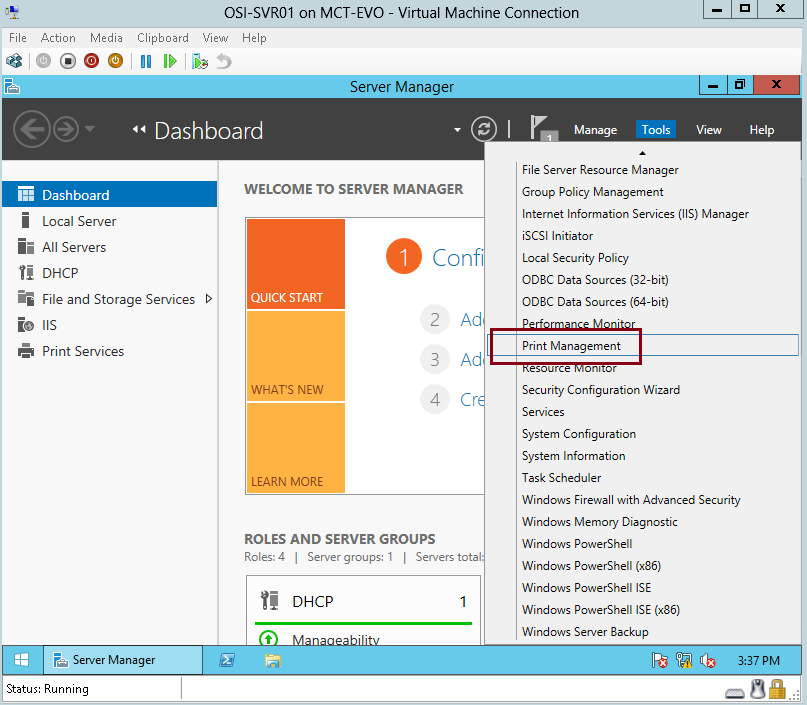
7 – Now lets install the Printer…
On OSI-SVR01 server, in the Server Manager, click Tools, and then click Print Management…
8 – Expand Print Servers, expand SVR01 (local), right-click SVR01 and then clickAdd Printer…

9 – On the Network Printer Installation Wizard interface, click Add a TCP/IP or Web Services Printer by IP address or hostname, and then click Next…

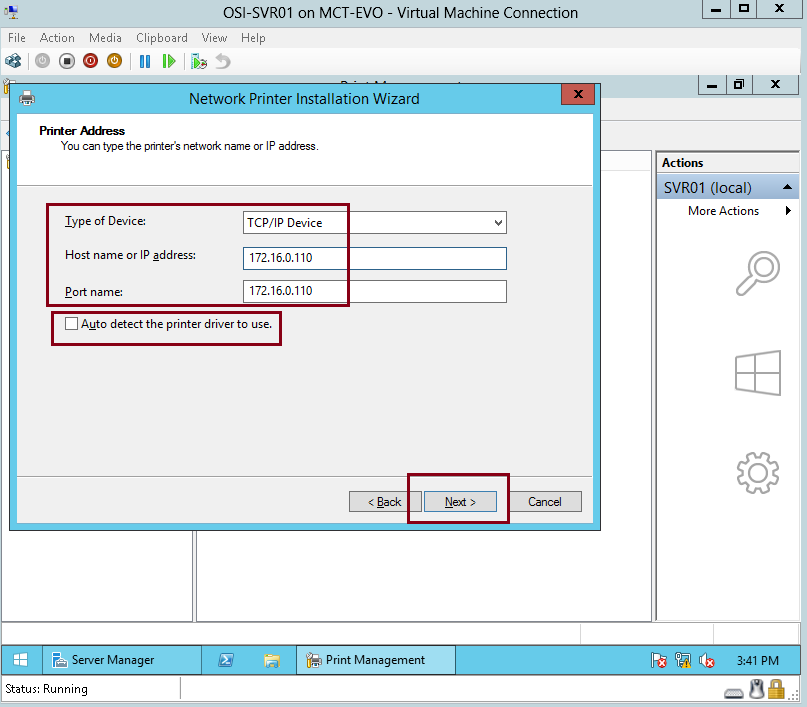
10 – On the Printer Address interface, change the Type of Device to TCP/IP Device, next in Host name or IP address, type 172.16.0.110, clear Auto detect the printer driver to use, and then click Next…
*** 172.16.0.110 is just to simulate Network Printer IP Address…
11 – Under Device Type, click Generic Network Card, and then click Next…

12 – On the Printer Driver interface, click Install a new driver, and then click Next…

13 – On the Printer Installation interface, under Manufacturer, click Microsoft, underPrinters, click Microsoft XPS Class Driver, and then click Next
*** I choose Microsoft XPS Class Driver just to simulate the printer installation, in real production you should choose your own Printer…

14 – On the Printer Name and Sharing Settings interface, change the Printer Name to OSI Finance Printer, and then click Next…

15 – Click Next 2 times to accept the default printer name and share name, and to install the printer…

16 – Click Finish to close the Network Printer Installation Wizard…

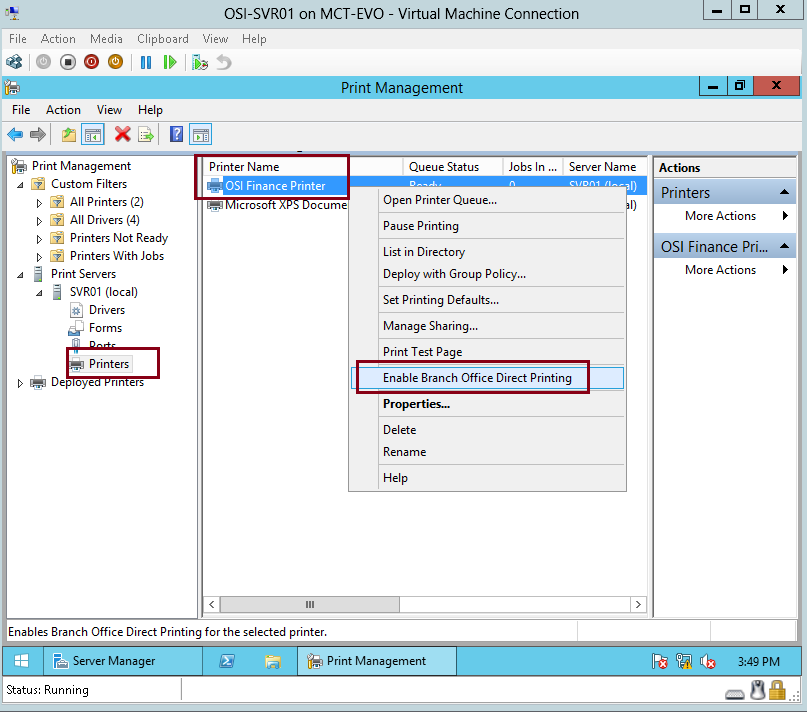
17 – In the Print Management console, right-click the OSI Finance Printer, and then click Enable Branch Office Direct Printing…
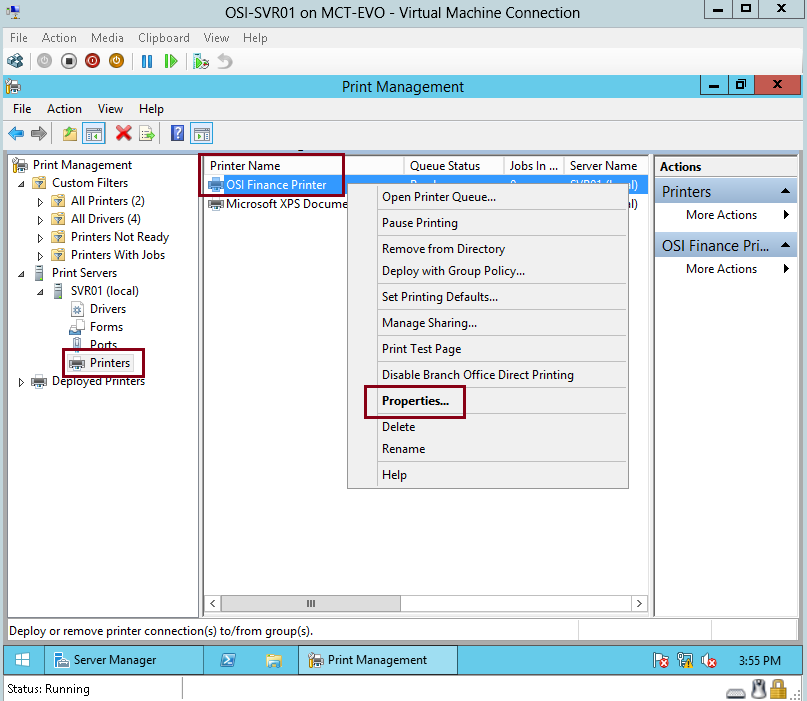
18 – right-click the OSI Finance Printer, and then select Properties…

19 – On the OSI Finance Printer properties, click the Sharing tab, select List in the directory, and then click OK…

20 – Next, lets configure printer pooling, in the Print Management console, under SVRo1, right-click Ports, and then click Add Port…

21 – In the Printer Ports dialog box, click Standard TCP/IP Port, and then click New Port…

22 – In the Add Standard TCP/IP Printer Port Wizard, click Next…

23 – On the Add port interface, in Printer Name or IP Address, type 172.16.0.111, and then click Next…

24 – In the Additional port information required dialog box, click Next…

25 – Click Finish to close the Add Standard TCP/IP Printer Port Wizard…

26 – Click Close to close the Printer Ports dialog box…

27 – In the Print Management console, right-click OSI Finance Printer, and then click Properties…
28 – In the OSI Finance Printer Properties dialog box, click the Ports tab, selectEnable printer pooling, and then click the 172.16.0.111 port to select it as the second port…

29 – switch to your client PC, open Control Panel, then click Devices and Printers…

30 – In the Devices and Printers console, click Add a printer…

31 – On the Add printer interface, under searching for available printers, click your existing Printer name and then click Next…

32 – the wizard will install the printer driver from the OSI-SVR01 server…

33 – On the Add printer interface (it will stated that “You’ve successfully adddedd OSI Finance Printer on SVR01″), click Next…

34 – click Finish…

35 – verify that you have OSI Finance Pinter on SVR01 is listed in your Devices and Printers control panel…

No comments:
Post a Comment